TL;DR: Tutorials often show simplistic, naive Dockerfiles. We can do better.
Please don't do this! 🙏
Table of Contents:
- Background
- Naive Implementation
- Pin the Base Image (🔒+🏎️)
- Set a Working Directory (👁️)
- Copy package.json and package-lock.json Before Source Code (🏎️)
- Use a non-root USER (🔒)
- Configure for the Production Environment (🔒 + 🏎️)
- Add Useful Metadata (👁️)
- Use a Cache Mount to Speed Up Dependency Installation (🏎️)
- Use a Multi-Stage Dockerfile (👁️)
- References
Background
Node.js is a popular Javascript runtime environment that enables developers to write back-end applications. There are many tutorials online showing how to containerize Node.js applications, but many of them show a naive implementation that is functional, but lacking in so many ways!
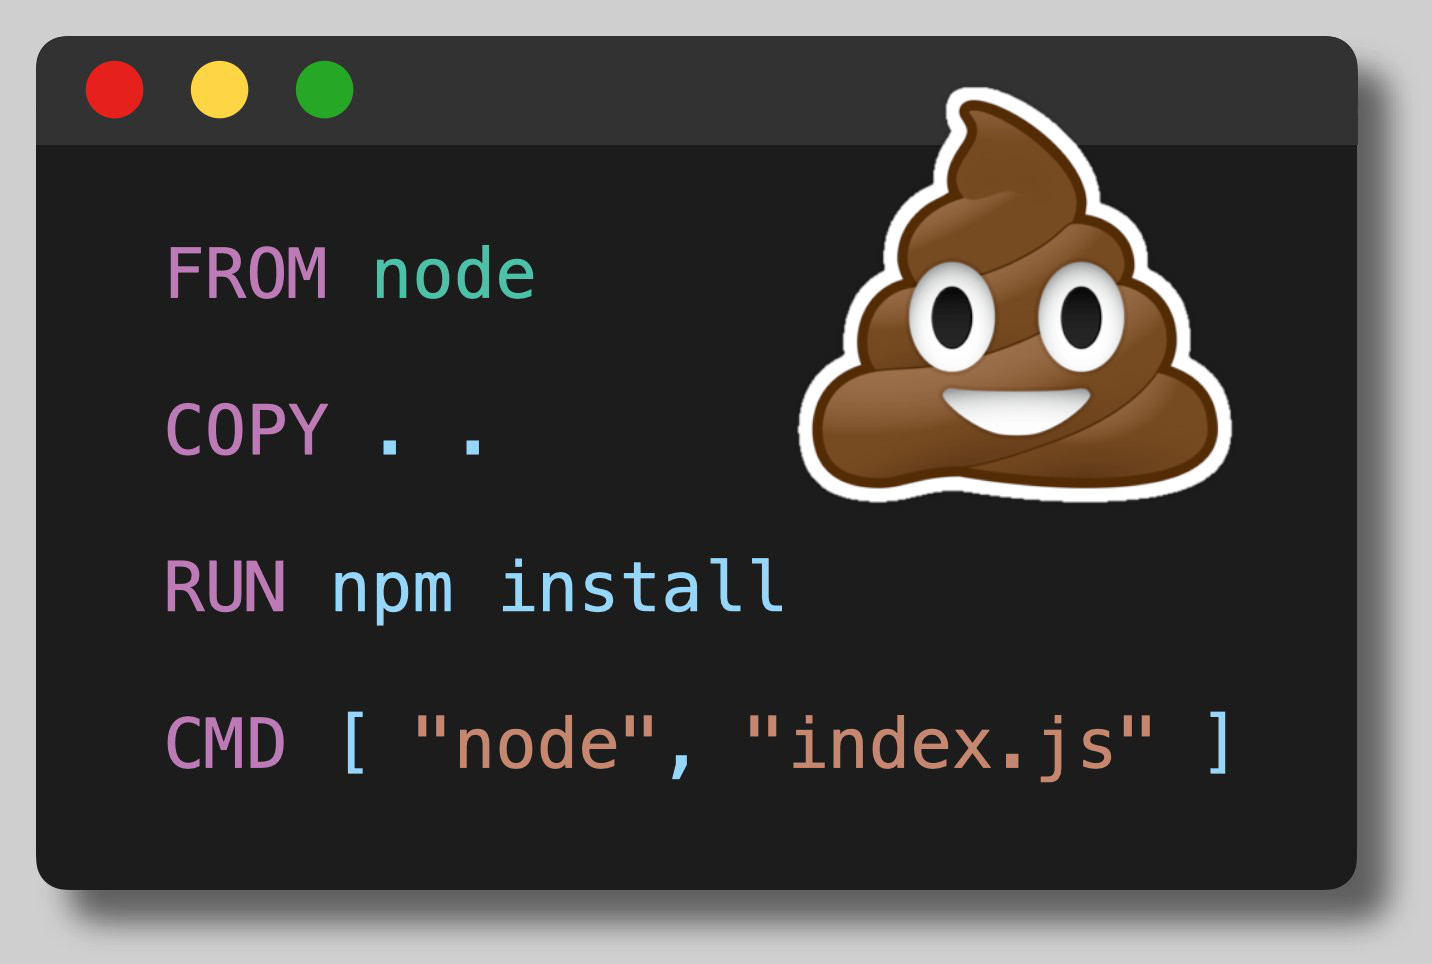
Naive Implementation
This Dockerfile starts from the official node container image from DockerHub, copies in the entire build context, installs dependencies with npm, and sets a command to be run upon startup.
FROM node
COPY . .
RUN npm install
CMD [ "node", "index.js" ]
While this will technically work, there are SO many ways in which we can improve it. Let us incrementally improve this Dockerfile to make it more secure (🔒), build faster (🏎️), and more clear (👁️)!
Pin the Base Image (🔒+🏎️)
The first way we can improve the Dockerfile is by pinning the base image to a specific version. With no tag, Docker will use the "latest" tag which is the default tag applied to images. This would cause the base image to change with each new update to the upstream image, inevitably breaking your application.
We can choose a specific base image that is small and secure to meet the needs of our application. See this article for information about choosing a good base image: "TODO"
#-------------------------------------------
# Pin specific version
# Use slim for reduced image size
FROM node:19.6-bullseye-slim
#-------------------------------------------
COPY . .
RUN npm install
CMD [ "node", "index.js" ]
Pinning to the minor version should prevent known breaking changes while still allowing patch versions containing bugfixes to be utilized. If you want to truly lock the base image you can refer to a specific image hash such as:
FROM node:19.6-bullseye-slim@sha256:e684615bdfb71cb676b3d0dfcc538c416f7254697d8f9639bd87255062fd1681
Set a Working Directory (👁️)
By default, the working directory would be the root path (/) but you should set it to something else based on the conventions of your specific language + framework.
This will provide a dedicated place in the filesystem with your app.
FROM node:19.6-bullseye-slim
#-------------------------------------------
# Specify working directory other than /
WORKDIR /usr/src/app
#-------------------------------------------
COPY . .
RUN npm install
CMD [ "node", "index.js" ]
Copy package.json and package-lock.json Before Source Code (🏎️)
Each instruction within the Dockerfile creates a new layer within the image. Docker caches these layers to speed up subsequent builds. Previously, every change to the source code would invalidate the layer cache for COPY . . causing the build to reinstall all of the dependencies (which can be SLOW!).
By copying only the dependency configuration files before running npm install we can protect the layer cache and avoid reinstalling the dependencies with each source code change.
We can also use a .dockerignore file to specify files that should not be included in the container image (such as the node_modules directory).
FROM node:19.6-bullseye-slim
WORKDIR /usr/src/app
#-------------------------------------------
# Copy only files required to install
# dependencies (better layer caching)
COPY package*.json ./
RUN npm install
# Copy remaining source code AFTER installing dependencies.
# Again, copy only the necessary files
COPY ./src/ .
#-------------------------------------------
CMD [ "node", "index.js" ]
Use a non-root USER (🔒)
If configured properly, containers provide some protection (via user namespaces) between a root user inside a container and the host system user, but setting to a non-root user provides another layer to our defense in depth security approach!
The node base image already has a user named node we can use for this purpose.
FROM node:19.6-bullseye-slim
WORKDIR /usr/src/app
COPY package*.json ./
RUN npm install
#-------------------------------------------
# Use non-root user
# Use --chown on COPY commands to set file permissions
USER node
COPY --chown=node:node ./src/ .
#-------------------------------------------
CMD [ "node", "index.js" ]
Configure for the Production Environment (🔒 + 🏎️)
Many Node.js packages look for the NODE_ENV environment variable and behave differently if it is set to production (reduced logging, etc...). We can set this within the Dockerfile to ensure it will be set at runtime by default.
Also, rather than using npm install it is preferable to use npm ci or "clean install" which requires the use of a package-lock.json file and ensures the installed dependencies match the fully specified versions from that file. By using --only=production we can avoid installing unnecessary development dependencies reducing the attack surface area and further reducing the image size.
FROM node:19.6-bullseye-slim
#-------------------------------------------
# Set NODE_ENV
ENV NODE_ENV production
#-------------------------------------------
WORKDIR /usr/src/app
COPY package*.json ./
#-------------------------------------------
# Install only production dependencies
RUN npm ci --only=production
#-------------------------------------------
USER node
COPY --chown=node:node ./src/ .
CMD [ "node", "index.js" ]
Add Useful Metadata (👁️)
There are a few Dockerfile instructions that don't change the container runtime behavior, do provide useful metadata for users of the resulting container image.
We can add LABEL instructions with various annotations about the container image. For example we might want to include the Dockerfile author, version, licenses, etc... A set of suggested annotation keys from the Open Container Initiative can be found here: https://github.com/opencontainers/image-spec/blob/main/annotations.md.
The EXPOSE command tells end users the port number that the containerized application expects to listen on. The port will still need to be published at runtime, but it is useful to include this instruction to make it clear to end users which port should be opened.
FROM node:19.6-bullseye-slim
#-------------------------------------------
# Use LABELS to provide additional info
LABEL org.opencontainers.image.authors="sid@devopsdirective.com"
#-------------------------------------------
ENV NODE_ENV production
WORKDIR /usr/src/app
COPY package*.json ./
RUN npm ci --only=production
USER node
COPY --chown=node:node ./src/ .
#-------------------------------------------
# Indicate expected port
EXPOSE 3000
#-------------------------------------------
CMD [ "node", "index.js" ]
Use a Cache Mount to Speed Up Dependency Installation (🏎️)
Buildkit provides many useful features, including the ability to specify a cache mount for specific RUN instructions within a Dockerifle. By specifying a cache in this way, changing a dependency won't require redownloading all dependencies from the internet because previously installed dependencies will be stored locally.
Note: If building the image in a remote continuous Integration system (e.g. GitHub Actions), you would need to configure that system to store and retrieve this cache across pipeline runs.
FROM node:19.6-bullseye-slim
LABEL org.opencontainers.image.authors="sid@devopsdirective.com"
ENV NODE_ENV production
WORKDIR /usr/src/app
COPY package*.json ./
#-------------------------------------------
# Use cache mount to speed up install of existing dependencies
RUN --mount=type=cache,target=/usr/src/app/.npm \
  npm set cache /usr/src/app/.npm && \
  npm ci --only=production
#-------------------------------------------
USER node
COPY --chown=node:node ./src/ .
EXPOSE 3000
CMD [ "node", "index.js" ]
Use a Multi-Stage Dockerfile (👁️)
By splitting out separate development and production image stages we can have an ergonomic dev environment with dev dependencies, hot reloading, etc... but retain the production improvements for deployment.
Shared steps can be built into a base stage and then customizations can be built on top of that base.
#-------------------------------------------
# Name the first stage to reference later
FROM node:19.6-bullseye-slim AS base
#-------------------------------------------
LABEL org.opencontainers.image.authors="sid@devopsdirective.com"
WORKDIR /usr/src/app
COPY package*.json ./
#-------------------------------------------
# Use the base stage to create dev image
FROM base AS dev
#-------------------------------------------
RUN --mount=type=cache,target=/usr/src/app/.npm \
  npm set cache /usr/src/app/.npm && \
  npm install
COPY . .
CMD ["npm", "run", "dev"]
#-------------------------------------------
# Use the base stage to create separate production image
FROM base AS production
#-------------------------------------------
ENV NODE_ENV production
RUN --mount=type=cache,target=/usr/src/app/.npm \
  npm set cache /usr/src/app/.npm && \
  npm ci --only=production
USER node
COPY --chown=node:node ./src/ .
EXPOSE 3000
CMD [ "node", "index.js" ]
References
- This post from Liran Tal inspired many of the security-related improvements: https://snyk.io/blog/10-best-practices-to-containerize-nodejs-web-applications-with-docker/
- My tweet thread on this topic went viral. See here for the dialog it generated: https://twitter.com/sidpalas/status/1634194026500096000