Cloudflare Workers Custom Link Forwarder
TL;DR: Setting up a custom link forwarder (e.g. links.devopsdirective.com/foo) takes about 3 minutes using Cloudflare workers!
Motivation
I have lots of content across many different platforms (YouTube, Twitter, LinkedIn, etc...) and wanted to create a was to easily set up custom links pointing to them. This way I can provide people links such as https://links.devopsdirective.com/terraform-gumroad rather than https://sidpalas.gumroad.com/l/hieekq.
This seemed like a perfect opportunity to try out cloudflare workers, a serverless compute offering from Cloudflare.
Create a Service
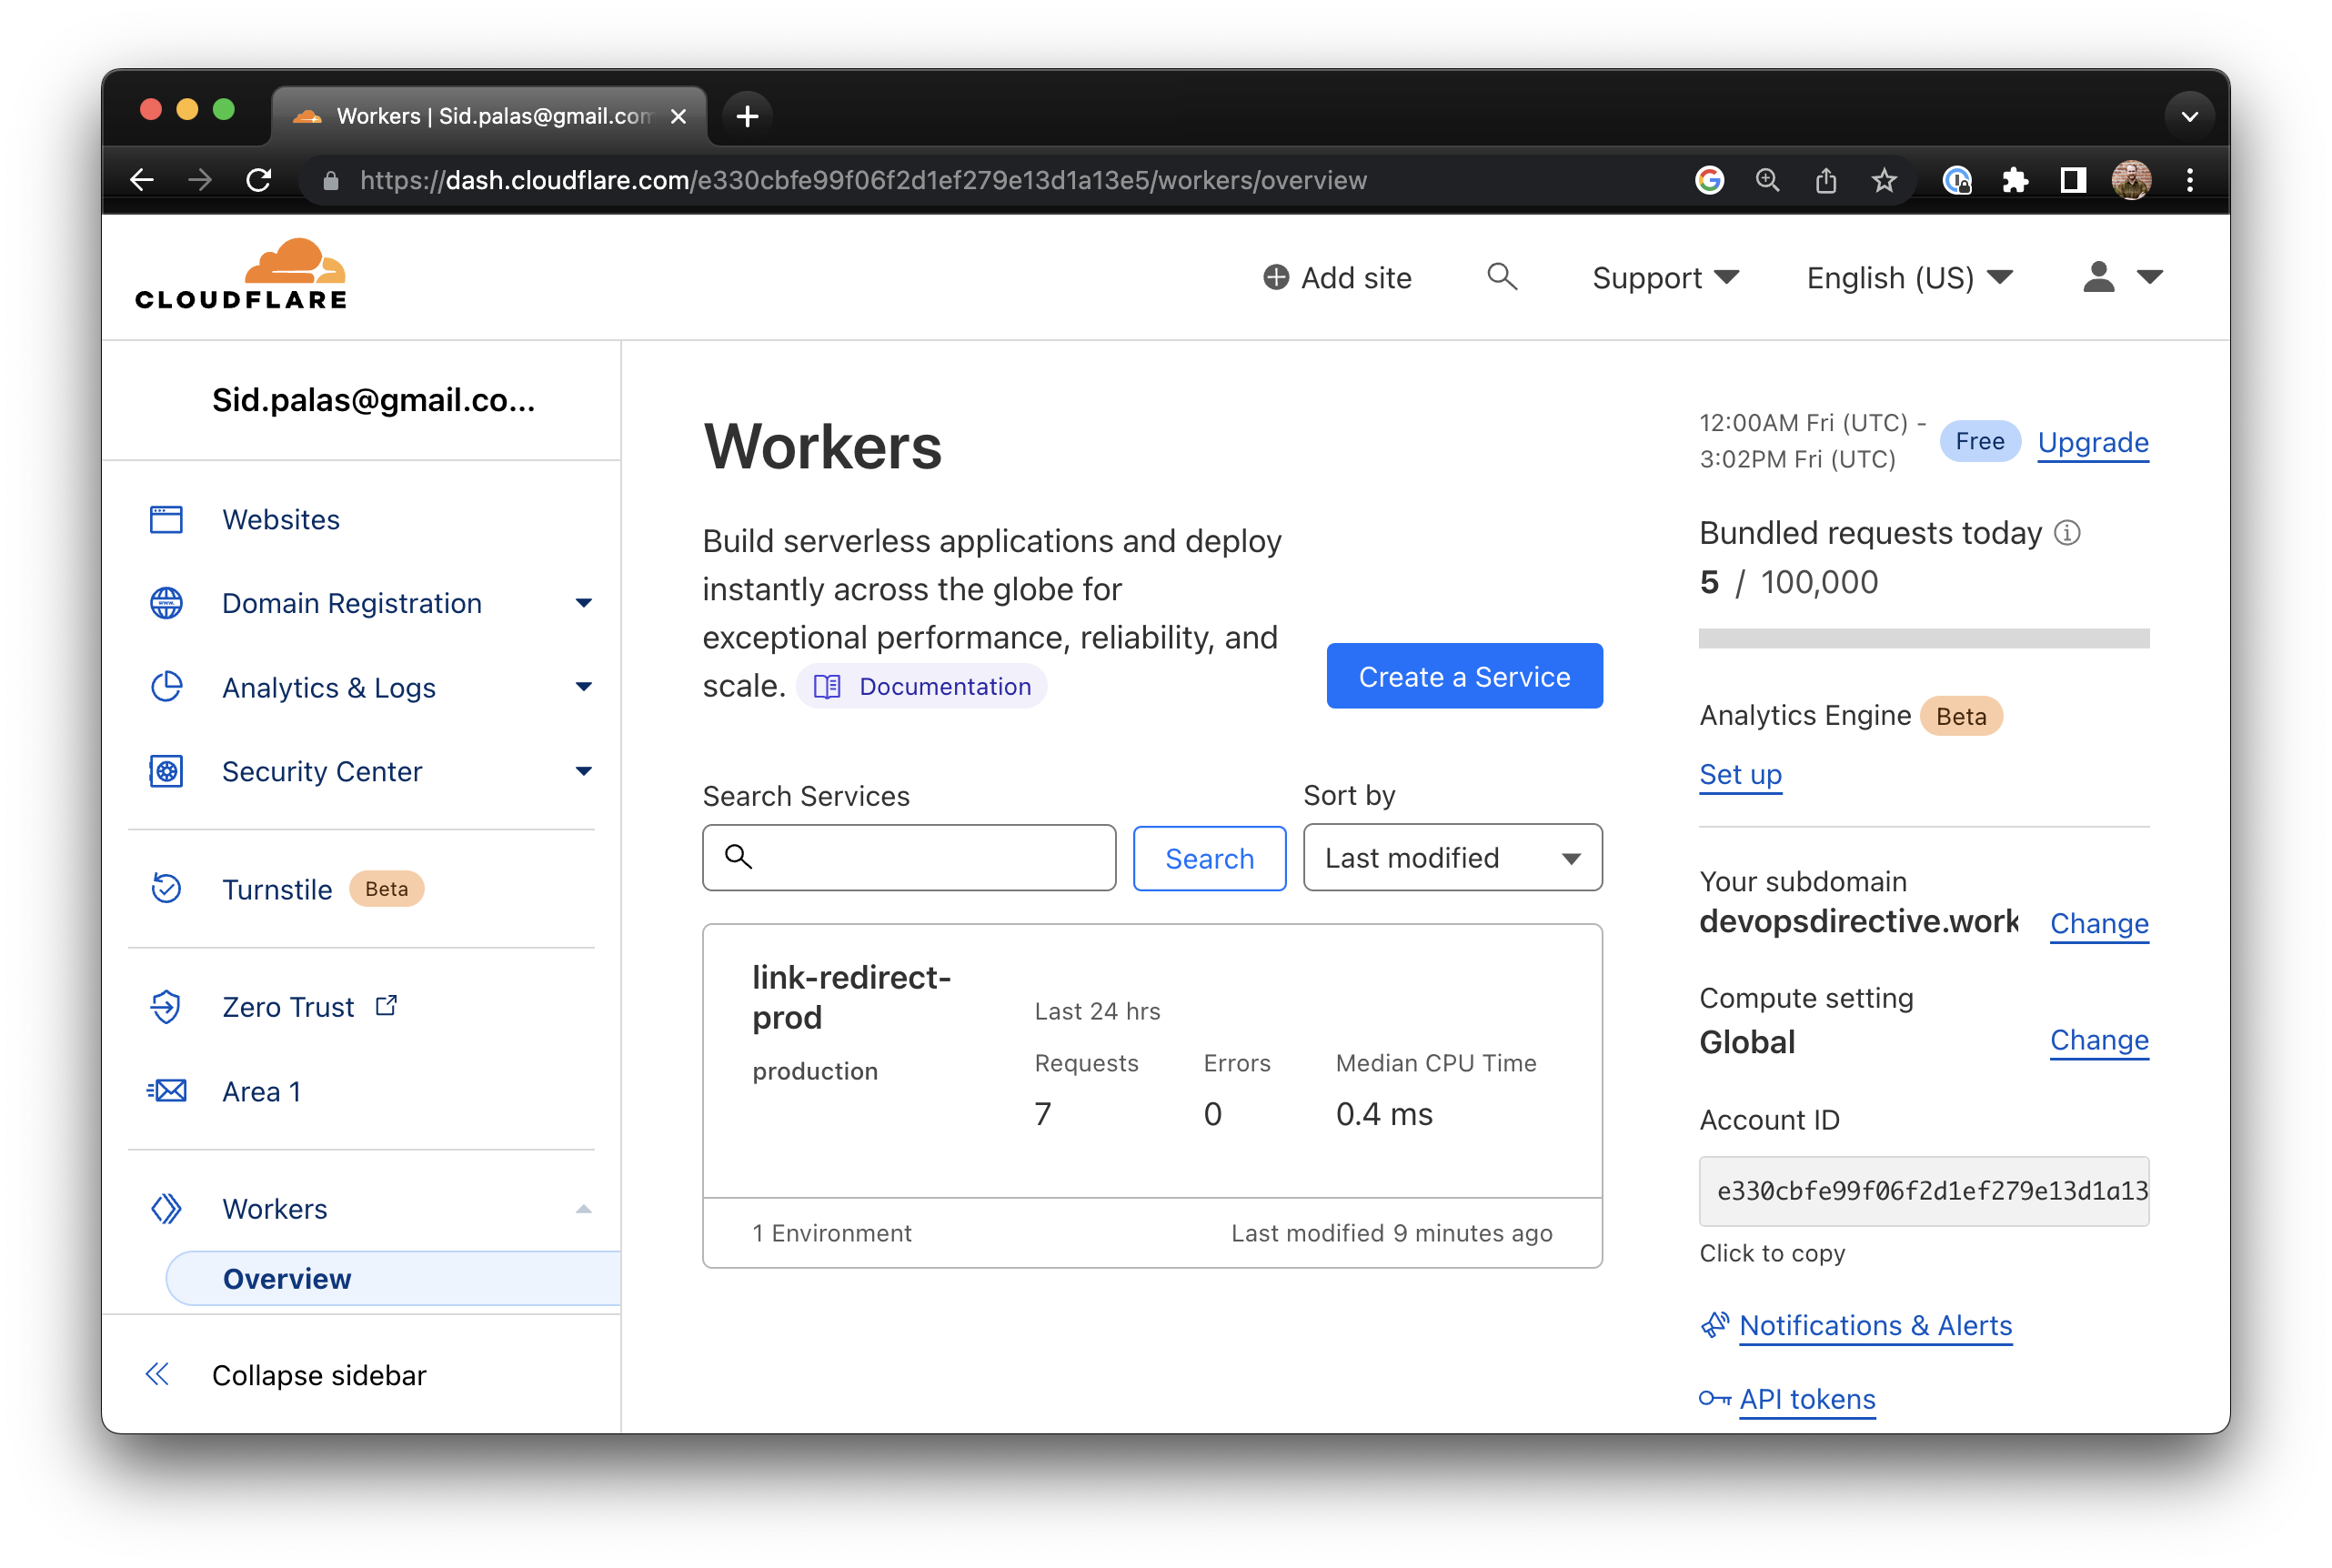
Each unit of compute within Cloudflare workers is called a "service". To create a service you can either use the CLI called "Wrangler" or navigate to the home page of your Cloudflare account at https://dash.cloudflare.com/<ACCOUNT_ID>/workers/overview. For this article I'll be showing the web UI.
You give your service a name and choose some simple starter code before clicking Create Service. This will deploy the service to https://<SERVICE_NAME>.<YOUR_CUSTOM_WORKERS_SUBDOMAIN>.workers.dev and within a few seconds it will be active.
Note: While Cloudflare workers do support other languages (either via WASM or cr languages that compile to JavaScript) JavaScript and TypeScript have the best native developer experience.
Updating the Code
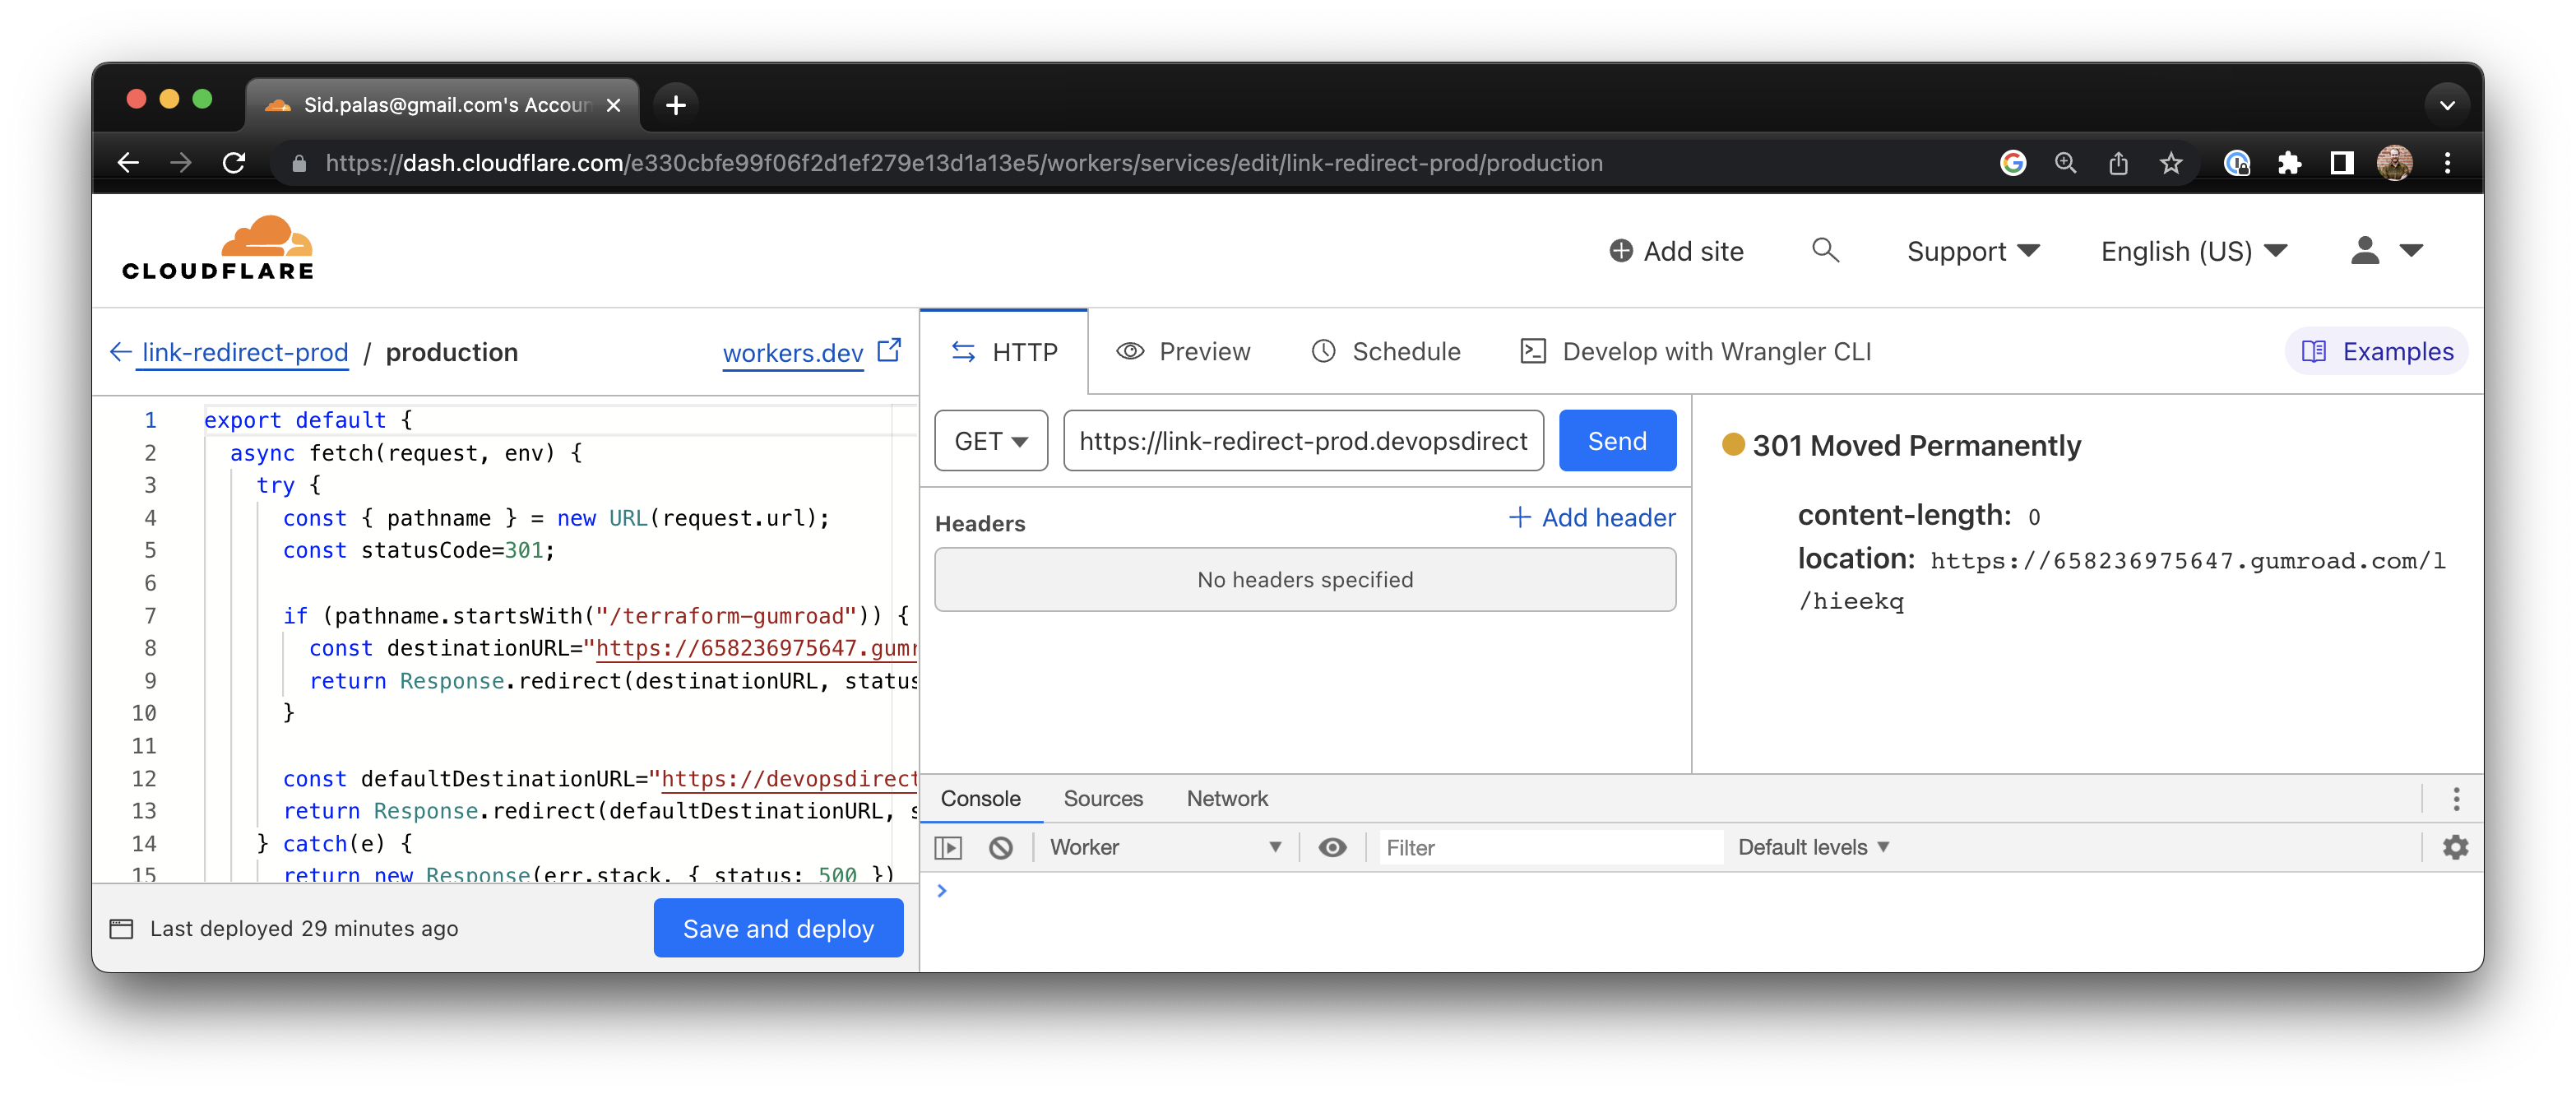
After creating the service, it will then show up in your top-level workers dashboard where you can click it and choose Quick Edit.
This will bring up a simple code editor + HTTP request testing interface so you can make changes to your code and test them right in the browser. For more complex use cases, editing in your IDE of choice and using the Wrangler CLI to deploy makes sense, but here I am only going to have a few lines of code.
The Code
Your service will need to export a default object containing properties corresponding to the events the worker should handle (e.g. fetch events or scheduled events). A simple hello world service can be written as:
export default {
  async fetch(request, env) {
    return new Response("Hello world")
  }
}
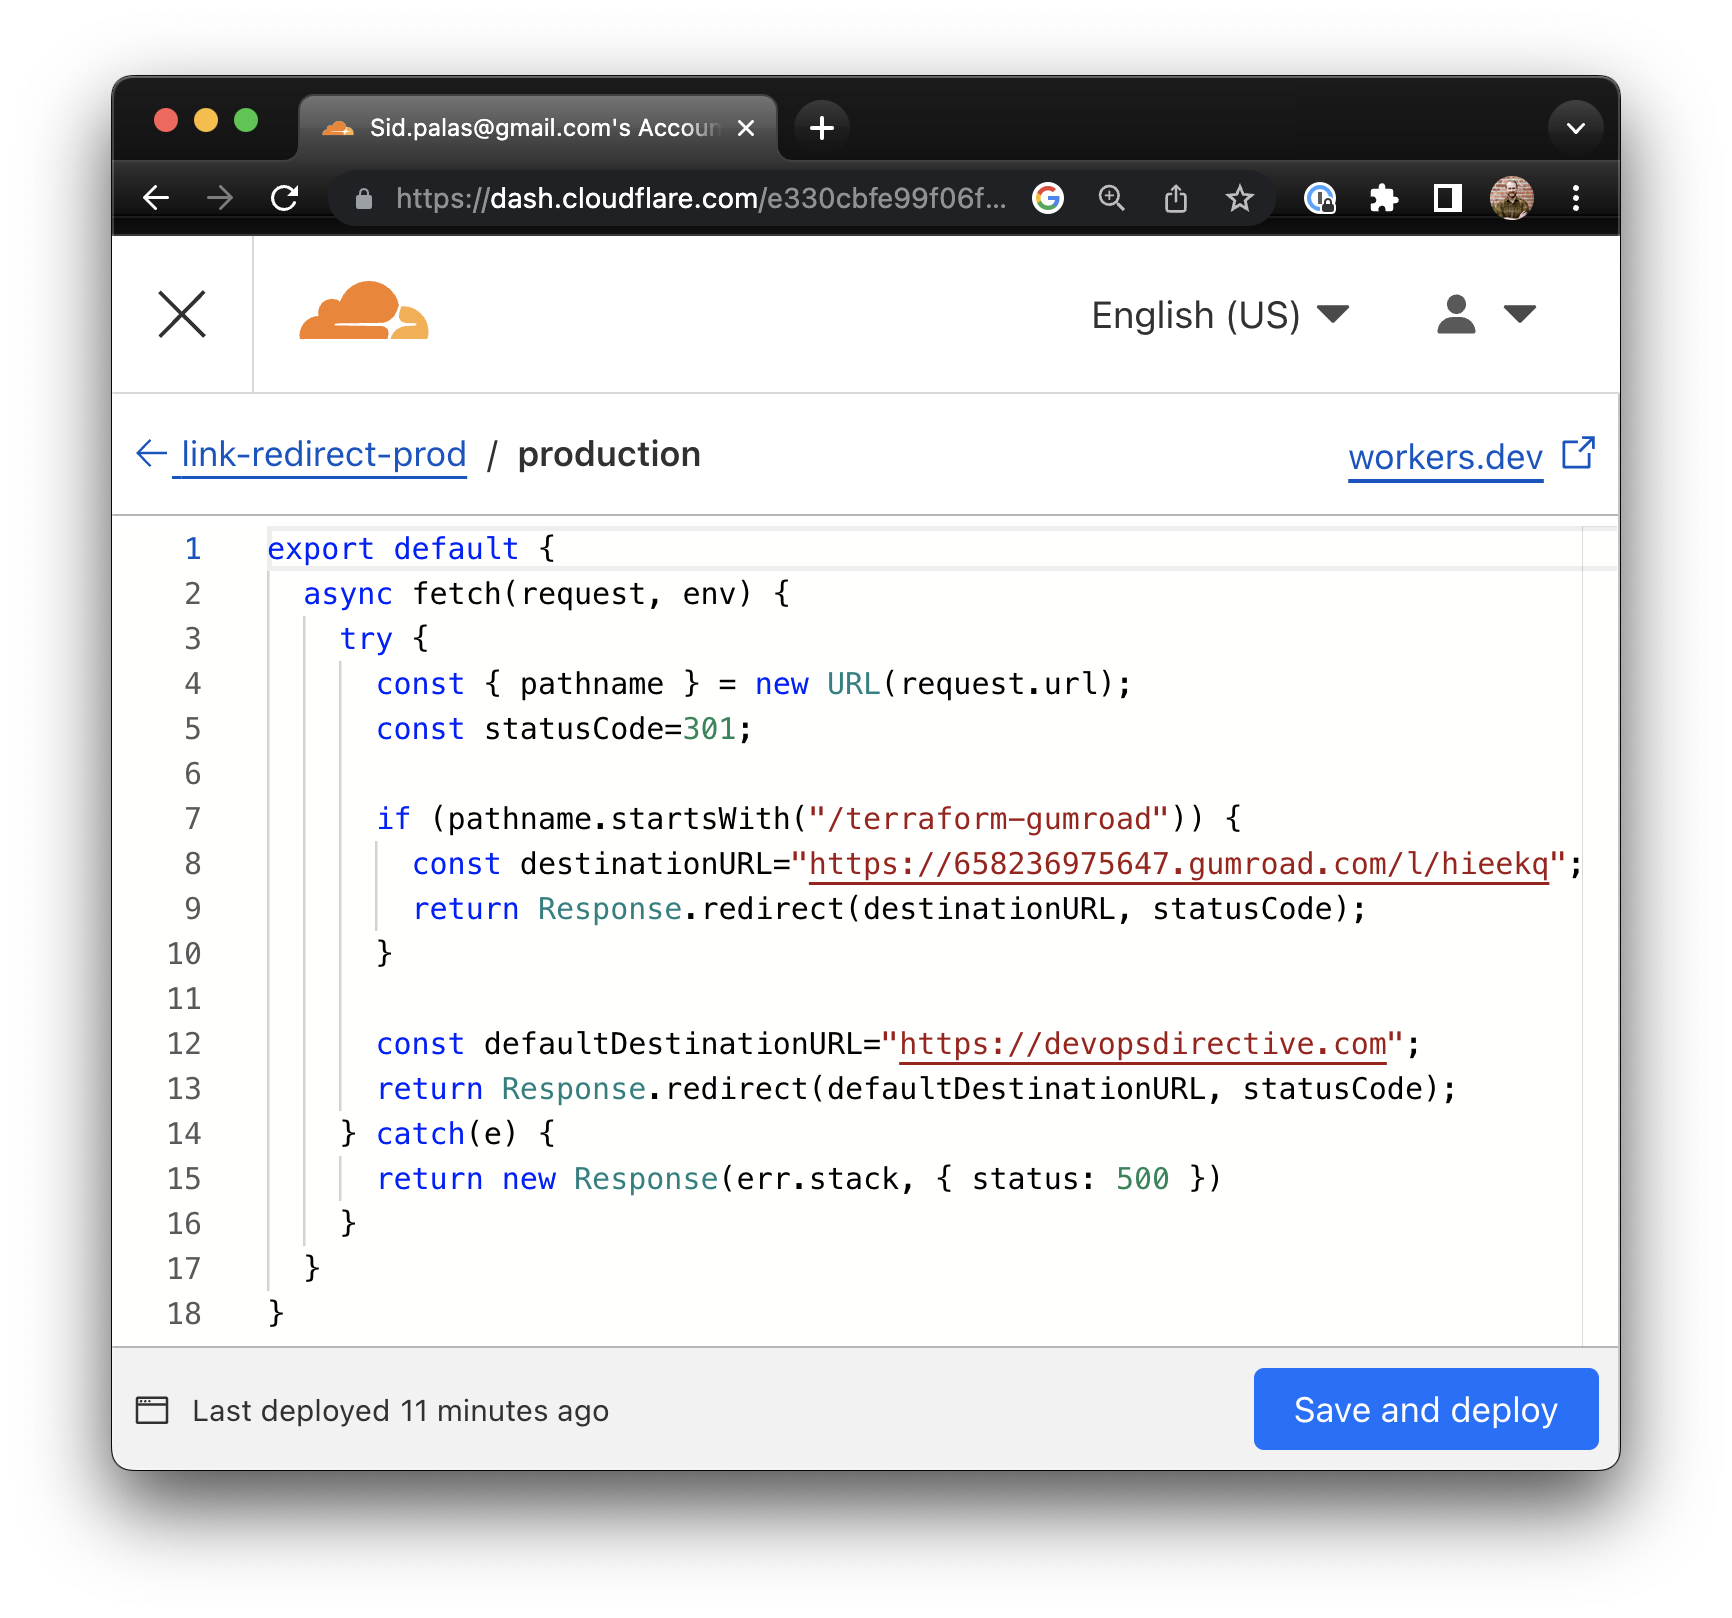
For the link forwarding use case, we extract the pathname from the fetch event request.URL and then check if it matches one of our links. If so, redirect to the desired location, but if no links match, redirect to https://devopsdirective.com.
export default {
  async fetch(request, env) {
    try {
      const { pathname } = new URL(request.url);
      const statusCode=301;

      if (pathname.startsWith("/terraform-gumroad")) {
        const destinationURL="https://658236975647.gumroad.com/l/hieekq";
        return Response.redirect(destinationURL, statusCode);
      }

      // Insert additional links here!

      const defaultDestinationURL="https://devopsdirective.com";
      return Response.redirect(defaultDestinationURL, statusCode);
    } catch(e) {
      return new Response(err.stack, { status: 500 })
    }
  }
}
Custom Subdomain
At this point, the worker is doing what we want, but to make the links a bit nicer we can wire up custom trigger for a domain of our choosing.
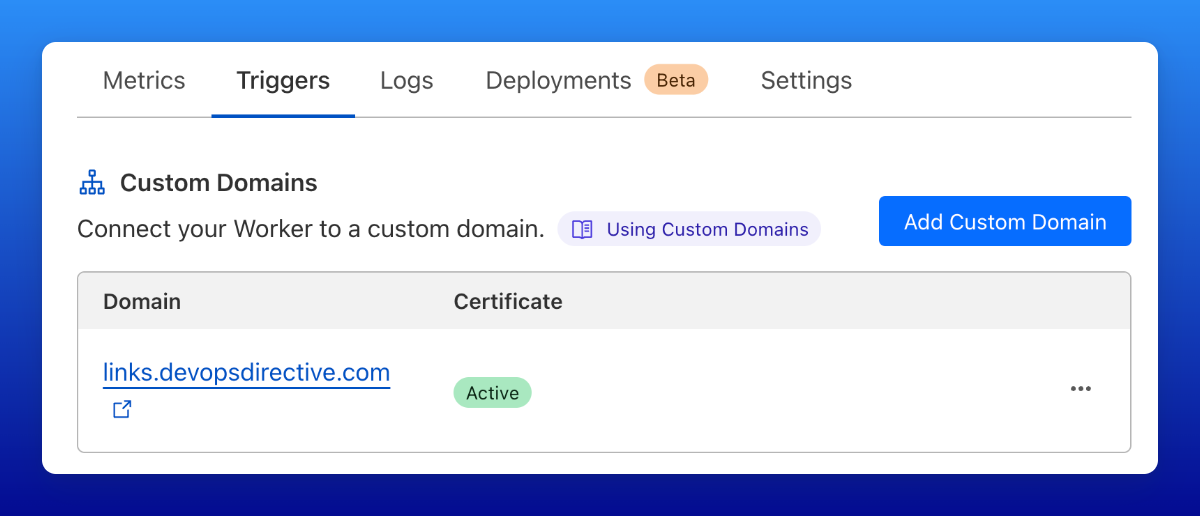
You can choose a domain or subdomain of any domain managed by your CloudFlare account once the DNS settings propagate, your forwarding links will be active!